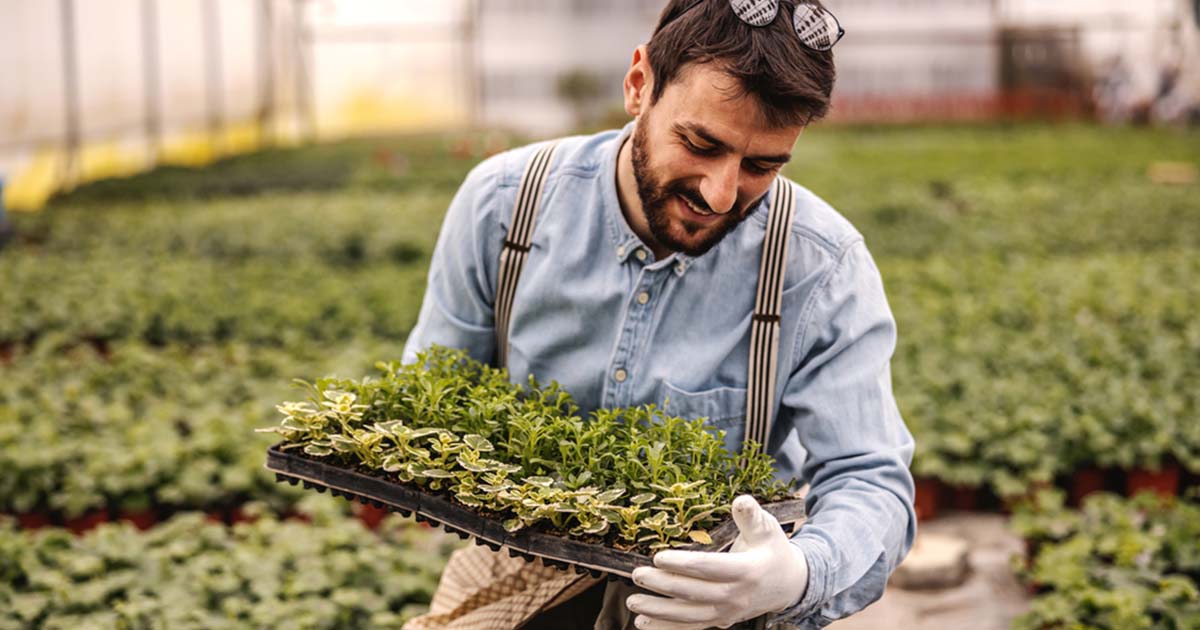
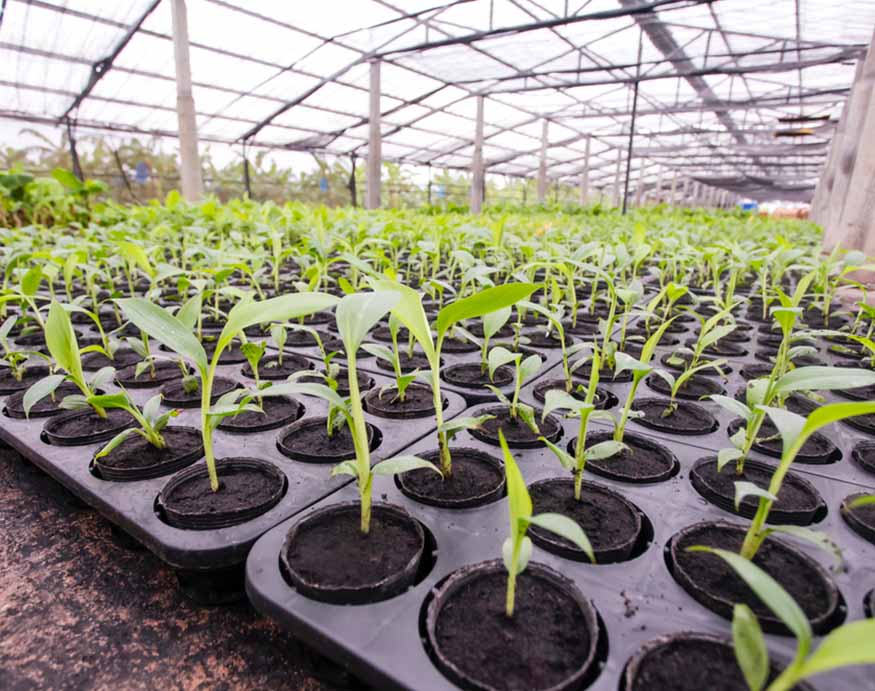
There is no more frustrating time of year for gardeners than late winter and early spring. Luckily, starting seeds in a greenhouse can give you a head start on the growing season and scratch your itch to get your fingers in the soil.
With so many different plants you can start in the greenhouse, it can be confusing deciding when and how to start your seedlings. Read on for help creating a plan for starting your spring seedlings in your greenhouse.
When To Plant Seeds In a Greenhouse
When it comes to starting seeds, there’s no better advice than “timing is everything.” When you plant your seeds is just as important as where or how you plant them.
Step 1: Identify Your Growing Conditions
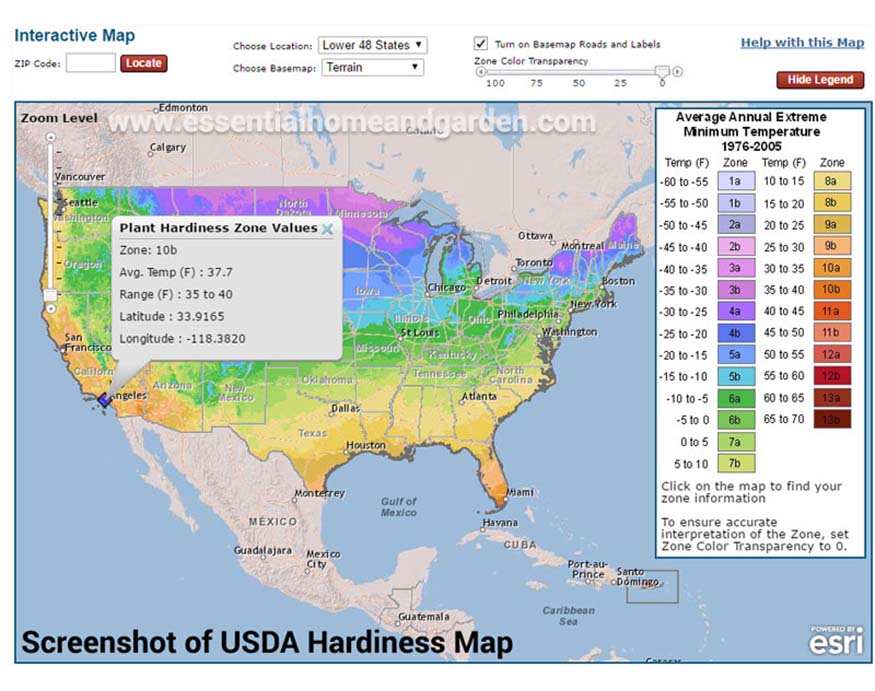
Referring to the USDA Plant Hardiness Zones (also known as “planting zones” or “growing zones”) helps you determine what plants your local environment can support and when to plant them.
Since there are 13 zones in total, the USDA has easy-to-use tools to pinpoint your exact growing zone. You can look at their color-coded map of the United States, check out a more detailed map of your state, or type in your zip code. An area’s zone is determined based on the average minimum winter temperature.
It is also essential to know the estimated last frost date for your area. If you aren’t sure, you can go to Old Farmer’s Almanac and look up the details. You can also type your zip code and get a specific planting calendar for your region.
Step 2: Identify Your Greenhouse Type
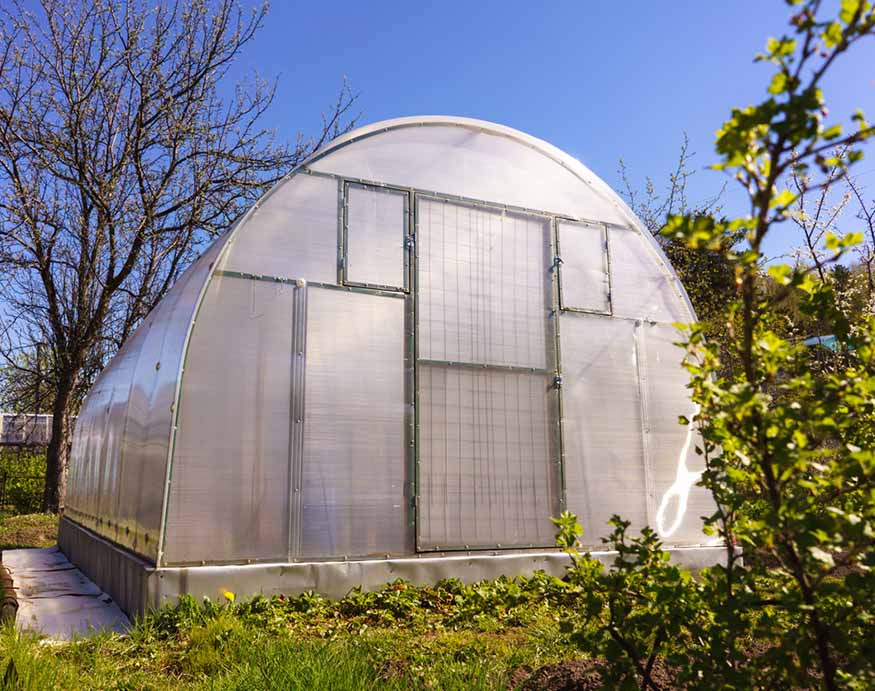
The correct timing for planting seedlings depends on what type of greenhouse you have. First and foremost, does your greenhouse have a heat source? An unheated greenhouse with only partial sun exposure can inhibit you from planting seedlings much earlier than the date when you can direct-sow those seeds in the garden.
In contrast, if you have total control over the temperature in your greenhouse, you can start earlier. To better understand your greenhouse and how it works, check out this guide to learn the science behind greenhouses and their advantages and disadvantages.
If you don’t have a greenhouse yet, keep heat sources in mind when you select one. You don’t necessarily need a built-in heating system.
Depending on what you want to plant and in what zone, you may be able to use heated growing mats or space heaters in an otherwise unheated greenhouse.
Step 3: Decide What to Plant
Different types of plants need different conditions to germinate. If you want specific suggestions about great plants to start as seeds in your greenhouse, check out our guide to greenhouse vegetables.
The most crucial factor for getting the timing right is the soil temperature required for germination.
Most seeds germinate at about 60-70 degrees Fahrenheit, although some cold season crops can germinate in the soil as cold as 35-40 degrees.
Most seed packets will give you a growing zone-based suggestion for when you should start seeds indoors, as well as a time for direct-sowing in the garden.
Step 4: Calculate the Ideal Planting Time
In general, you want to plant your seeds early enough that they will be ready to transplant as soon as the outside growing conditions are suitable, but not so early that they will become leggy and root-bound before you can plant them in the ground. The tricky part is putting all the information together.
Keep in mind that none of the guidelines are rigid. After all, the weather doesn’t necessarily abide by the projected last frost date. Flexibility is important. Also, because all the recommendations are just estimates, and you will find different answers depending on where you look, you will have to make your best judgment.
This can get complicated. For serious gardeners looking to plant many varieties of vegetables, especially if you plan to use a succession planting strategy, it can be beneficial to keep a calendar (or spreadsheet) when to plant each type of seed.
How To Start Seeds In a Greenhouse
Step 1: Gather Your Supplies
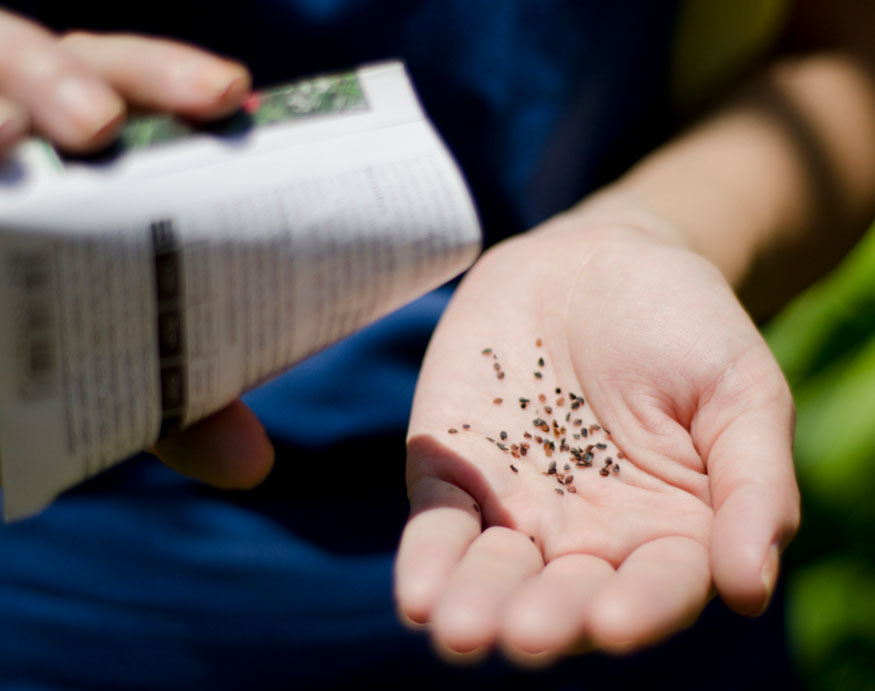
Seeds
You can use seeds from any source, as long as they are not too old. Seeds that are often several years old are still viable, but you may get a lower germination rate.
Avoid using starting seeds in your greenhouse that are more suitable for direct sowing (unless you are planting directly into the soil of a greenhouse with no solid foundation, and plan to leave the plants there rather than transplanting).
Plant more seeds than you need seedlings, especially for plants known to have a low germination rate.
Where To Get Seeds

Get Cheap, NON-GMO Vegetable Seeds from SeedsNow
SeedsNow is a great place to get all your vegetable seeds.
Use the coupon code SEEDSNOW for 10% off your order.
Seed Starting Trays
There are several features to look for in a seed starting tray.
First, make sure every seed pot has good drainage. Some trays have no holes or tiny holes, which can water-log your seedling and promote mold. If necessary, enlarge the drainage holes with a nail or knife.
Second, it’s best to have a solid tray that goes under the seed pot tray. It will catch any water that runs through, avoiding creating a muddy mess under your seedling tray.
Third, you want a clear plastic humidity dome that fits over the seedling tray. It is basically a mini-greenhouse inside your big greenhouse. It creates a hot and moist microclimate, perfect for germination. Remove the dome when the seedlings pop up and nearly touch it.
There are many options, but this one works great. It includes all of the above features and is cheap and reusable.
Small Pots
Many plants, especially the ones you start earliest, will eventually need a “pot up.” You can re-use the small pots from your previous year’s purchased seedlings (after cleaning them to avoid transmitting plant diseases) or use small plastic food containers (such as yogurt containers, plastic soda bottles with the top cut-off butter tubs). However, make sure whatever you use has good drainage holes in the bottom.
Seed Starting Mix
It is advisable to use soilless seed starting mix, rather than ordinary potting soil, for several reasons. First, seed starter mix has a fine, light texture, making it much easier to cover your seedlings with an even, shallow layer of soil.
Second, that light texture also makes it easier for the seedling’s tiny roots to grow. Third, potting soil is too rich in nutrients. In the early stages, seedlings take their nutrients from the seed, not the soil. Finally, potting soil is more likely to become waterlogged, causing mold or fungi to grow.
You can make your own seed starting mix.
There are many variations, but one good recipe is:
- 2 parts finely sieved compost
- 2 parts coconut coir (rehydrated if purchased as a block) or sphagnum peat moss
- 1 part perlite or pumice
Some recipes use no compost at all. These mixes may be so devoid of nutrients that you will want to give your older seedlings a bit of fertilizer, especially if there are transplanting delays.
Watering Tools
It is essential to be very gentle in watering seeds and fragile seedlings. You’ll need a spray bottle, as well as a watering container that pours a small amount of water very gently.
If you don’t have one, you can make one by using a nail to poke holes in the lid of a sturdy, well-sealing plastic container (like a carry-out soup container). The holes should be small enough that the water drips or trickles, rather than pours.
Step 2: Prepare Your Seeds
You can plant most seeds straight out of the package. However, other types of seeds may benefit from special treatment, whether to improve germination rates or speed up germination.
For example, plants with tough seed coatings (such as okra or lupine) may benefit from scarification before planting. Scarification means damaging the outside of the seed coating to let the water enter more easily.
In nature, seeds are scarified by going through a freeze/thaw cycle or passing through an animal’s digestive tract. You can scarify your seeds by nicking them using a file or sandpaper (careful not to damage the seed’s soft interior) or freezing the seeds overnight. However, scarification is not necessary in most cases.
Some seeds reportedly germinate faster if you soak them in water before planting them. Many people like to soak pea and bean seeds overnight before planting, for example, and some people recommend soaking asparagus seeds for up to a week. If you don’t soak your seeds, you may want to plant them a little earlier than if you do soak them to properly time their germination to align with your intended planting date.
Get Cheap, NON-GMO Vegetable Seeds from SeedsNow
SeedsNow is a great place to get all your vegetable seeds.
Use the coupon code SEEDSNOW for 10% off your order.
Step 3: Plant Your Seedlings
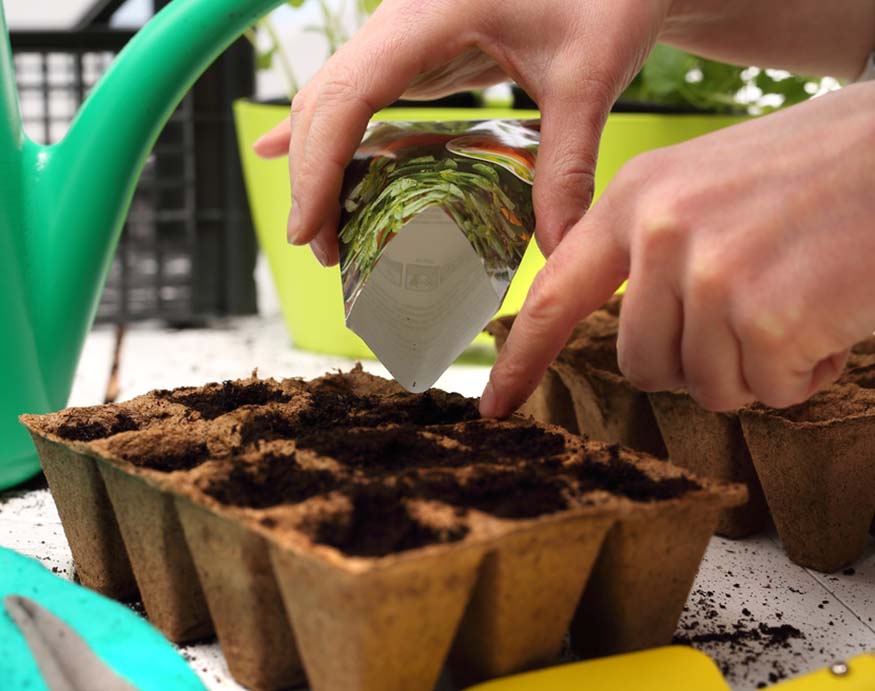
Follow the seed packet instructions regarding how deeply to bury your seeds in your potting mix. Some need light to germinate, while others need the darkness provided by a heavier layer of soil-free seedling mix.
Generally (unless you are using fresh seeds from a company you trust and have plenty of space for lots of seedling trays), you will want to plant 2-3 seeds per cell in each tray.
Plant into pre-dampened soil. Then, gently dampen it a bit more using your spray bottle on its spray/mist setting (not its narrow stream setting) to avoid disrupting the seeds and potting mix.
Place the clear dome over your seed trays to capture evaporating moisture and lock in heat.
Learn more: Try an Aerogarden – Indoor Hydroponics System!
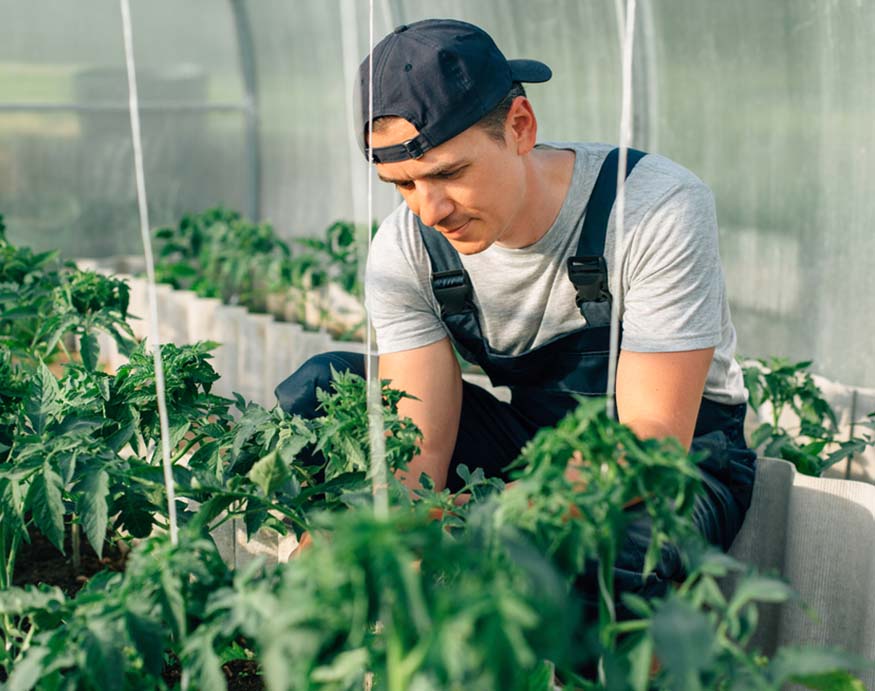
Step 4: Monitor and Tend To Your Babies
This step is the critical stage. There are several variables to keep in mind as you monitor your seed trays for evidence of germination.
Temperature
Make sure the temperature in your greenhouse is appropriate for germination. This chart identifies the minimum, optimum, and maximum soil temperatures for specific vegetables and estimates the number of days to germination.
If your greenhouse is unheated and drops below the appropriate temperature at night, try adding heated seed mats (such as this option).
Humidity
Seeds need to be kept consistently moist during germination. Some types of seeds are moderately tolerant of variation, but others (carrots, for example) are finicky and will die if they dry out during the germination process.
On the other hand, an overly saturated potting mix can drown your seedlings or cause problems with mold, fungi, or “damping off.” If the trays seem too wet (if they are heavy and do not seem to be getting lighter), remove the clear dome to allow evaporated water to escape until the trays lighten up a bit.
Lightly spray or water seedlings on a frequent but as-needed basis, rather than adhering to a strict schedule. Aim for moist, not dry or wet.
Sunlight
Make sure your seedlings get plenty of light. Seedlings that need darkness to germinate should get that darkness from being buried under the appropriate amount of potting mix rather than from lack of access to sunlight. If you don’t have enough sunlight, consider adding grow lights.
After your seedlings sprout, continue to pay attention to their sun exposure in the greenhouse. If they get inadequate sunlight (even if kept adequately warm), they will tend to grow leggy and weak.
Sprouting
When your seedlings come up, you face the most emotionally challenging part of starting seeds in your greenhouse. For most plants, and especially those susceptible to transplant shock if their roots are disturbed, you need to reduce the number of sprouts per cell. For example, if you planted three tomato seeds in one cell and two sprouted, one needs to go. Once the most vigorous-looking seedling is sturdy enough that you’re confident about its survival, use clean, sterilized scissors to snip off the tops of extra seedlings, leaving only one per pot.
As much as it hurts to decapitate your baby plants, remember that it’s necessary to give the remaining seedlings plenty of room for their roots to grow. It also ensures you don’t have to detangle the roots of multiple seedlings when you transplant them.
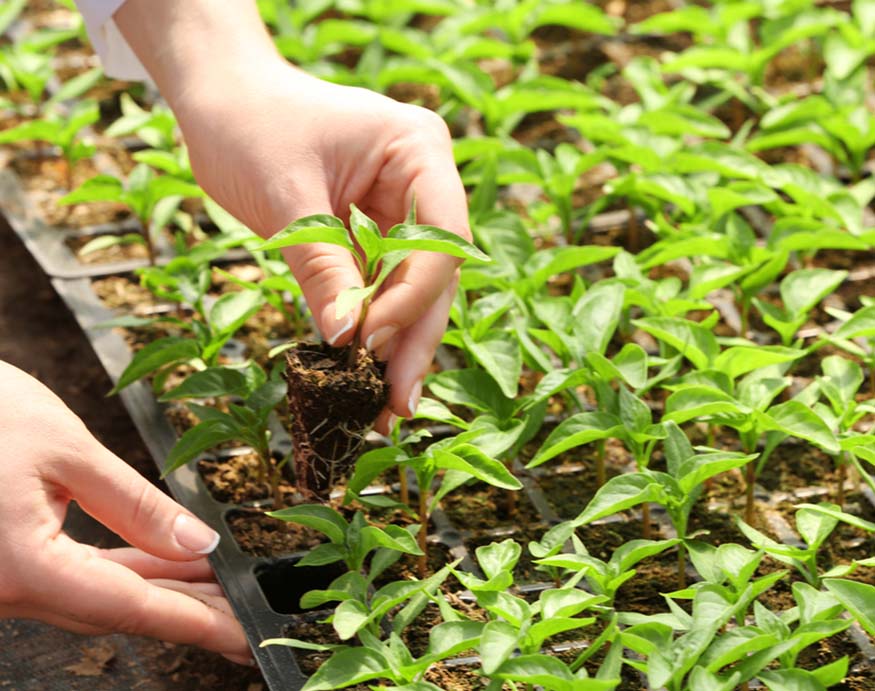
Potting Up
If your seedlings get bigger than you’d planned, perhaps because you had to keep them indoors longer because of a late cold snap, you may need to repot them into small pots. That will ensure they don’t become overly root-bound. A good sign that you should increase the size of the pot is that you see roots growing out of the drainage holes in the bottom of the tray.
Hardening Off
When your sprouts are about ready to be transplanted, you’ll want to help them adapt to unprotected outdoor conditions before transplanting. If all of your seedlings are ready simultaneously, you can simply gradually reduce the heat and increase the ventilation in your greenhouse.
If you have seedlings of different plants ready at various times, as is normally the case, harden each set off outdoors for several days. Gradually increase the time your seedlings spend outdoors by moving the trays out of the greenhouse during the day, starting with just an hour or two at a time, then returning them to the greenhouse at night. Once they’ve acclimated to the sun, wind, and other weather conditions, they’re ready to plant.
The Wrap Up
Many people get a greenhouse in the first place to have a place to start their seeds, so if you have one, take advantage of the opportunity to get growing early. With a bit of effort and patience, you’ll be eating fresh tomatoes from your garden by the Fourth of July.