For people who love to garden, the most frustrating time of year is late winter. After months of being housebound, all you want is to dig your hands into warm soil. The bright and shiny packets of seeds you bought the moment they hit the stores are calling to you, begging to be planted, but you know it is too soon. So you wait, and wait, and wait.
It doesn’t have to be this way. With a greenhouse, you can garden year-round. What’s more, you can grow plants that need a longer growing season than your growing zone would usually allow.
Getting a greenhouse may seem like a big step for a home gardener. If you don’t know how a greenhouse works, you may worry you don’t know how to choose the right one for your situation.
Luckily, the basic principles of how greenhouses work are easy to understand. This guide will answer your questions about different types of greenhouses and how they work.
A greenhouse works by converting light energy into heat. Light enters the greenhouse and is trapped there by the glass and absorbed by the plants and other objects. This causes the light energy to be converted to heat energy, which is trapped inside the greenhouse. This provides the ideal environment for plants to thrive year round.
Read on for a detailed look at how a greenhouse works.
Disclosure:It is important you understand that we may receive commissions when you click our links and make purchases. However, this does not impact our reviews and comparisons. All opinions are our own we pride ourselves on keeping our articles fair and balanced. For more info see our disclosure statement.
Greenhouse Basics
What is a Greenhouse?
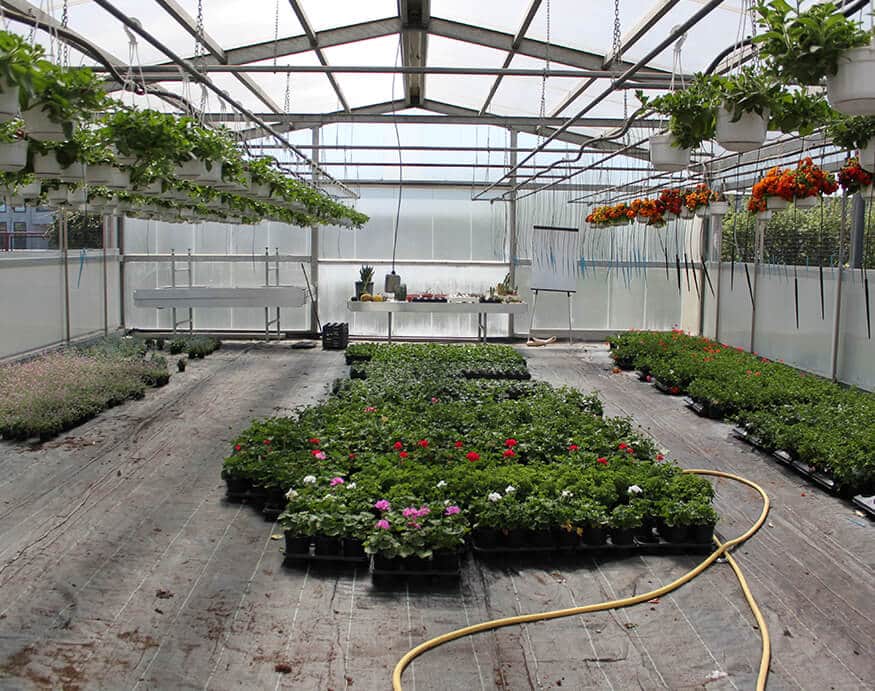
A greenhouse is a structure with a roof and walls made of a transparent surface, usually glass. A greenhouse uses sunlight to create a climate-controlled environment for growing plants.
Greenhouses are not a new technology. The Roman empire used them in the year 30 C.E. because Emperor Tiberius wanted to eat cucurbits (a cucumber-like melon) all year-round.
Thanks to updates in greencohouse technology, now you can build them from scratch or construct a kit.
The Science Behind Greenhouses
You may wonder how a greenhouse can be so warm inside, even when it is cold outside. The answer is not as complicated as you might imagine.
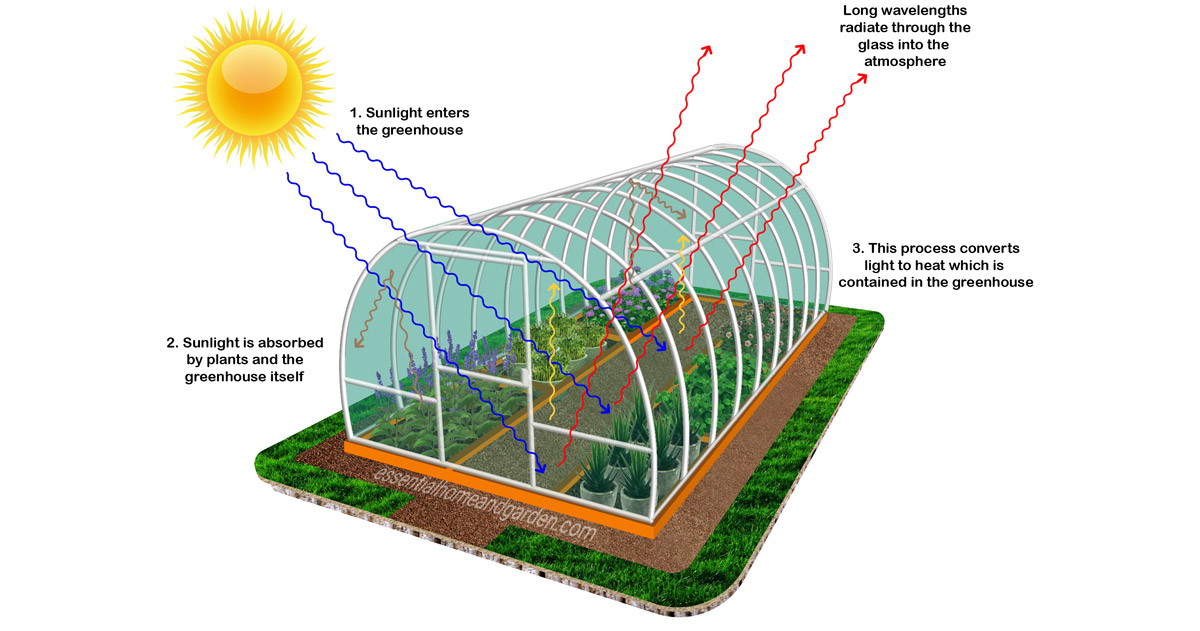
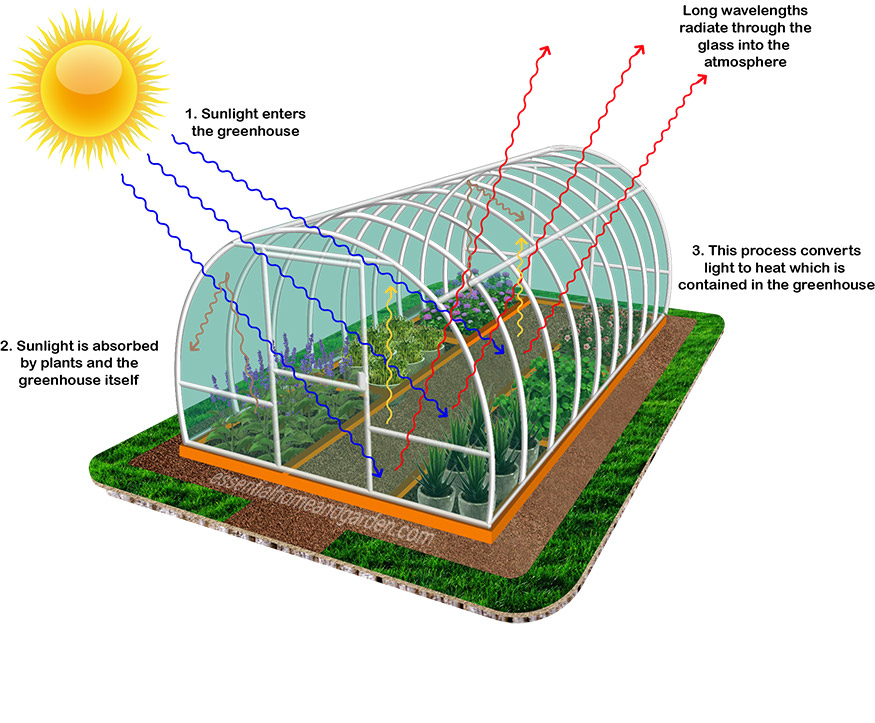
Step One: Light Enters
Sunlight enters the greenhouse through the glass walls and roof. Sunlight takes the form of rays of short-wavelength energy. This energy passes easily through the glass.
Step Two: Light is Absorbed and Converted
The plants, floor, and other objects inside of a greenhouse absorb sunlight. Then, they convert the light energy into heat energy.
The amount of heat your greenhouse will absorb depends on its size, sun exposure, and contents. For example, some flooring materials (such as brick) absorb and hold onto heat more easily than others.
Some greenhouses have large fish tanks inside because water absorbs a lot of heat. The warm environment benefits the fish, and the used tank water makes an excellent fertilizer.
Step Three: Heat is Released
The heat absorbed by the floor, and everything else in the greenhouse, do not stay inside those objects. They radiate the heat back into the air inside the greenhouse, gradually over time.
That radiated heat continues to warm the air inside the greenhouse for hours, keeping the temperature suitable for tender plants long after the sun sets.
Step Four: Heat is Trapped
Sunlight (a.k.a. shortwave infrared light energy) travels easily into your greenhouse through the glass. Once converted into heat, the wavelength’s shape changes, limiting how much it can pass through the glass. Only certain longer wavelengths of radiated heat escape easily through the glass, traveling back out into the atmosphere.
The rest of the heat stays inside, rising. Then, it pushes the cold air above it downward, creating a heating cycle and thus a microclimate.
Greenhouse Principles in Daily Life

While these concepts may seem technical, you actually experience the basic science of a greenhouse every day – and take it for granted.
For example, the heat-trapping property of glass is why you can maintain a warm temperature in your house even in winter, despite having glass windows.
Imagine a car parked in the sun on a hot day. You won’t leave a child or pet inside because heat is trapped. The sun comes in through the windshield (and is absorbed by the car body), and it can’t easily escape through closed windows.
Finally, the “greenhouse effect” in environmental science is also similar. Earth’s atmosphere works just like the glass walls of a greenhouse. It lets sunlight in and then traps the heat radiated on the surface. This process makes the entire planet hospitable for plant and animal life.
Hothouses
Advantages of a Greenhouse
Greenhouses have a lot of benefits for avid gardeners, but they also have a few down-sides.
Longer Growing Season
By creating a consistently warm environment, you can lengthen your growing season.
You can start seeds in a greenhouse earlier than you could in your home unless you have lots of indoor space and grow lights.
You can also nurture seedlings in a greenhouse, gradually acclimating them to outdoor temperatures. You won’t have to worry that a late cold snap will force you to keep your seedlings indoors too long (which results in leggy, weak seedlings). They will thrive in a greenhouse until they are ready to plant.
During fall, when temperatures drop, you can move some plants into the greenhouse. With any luck, you can extend the season long enough for those last few vegetables to ripen on the vine.
Climate Control Flexibility
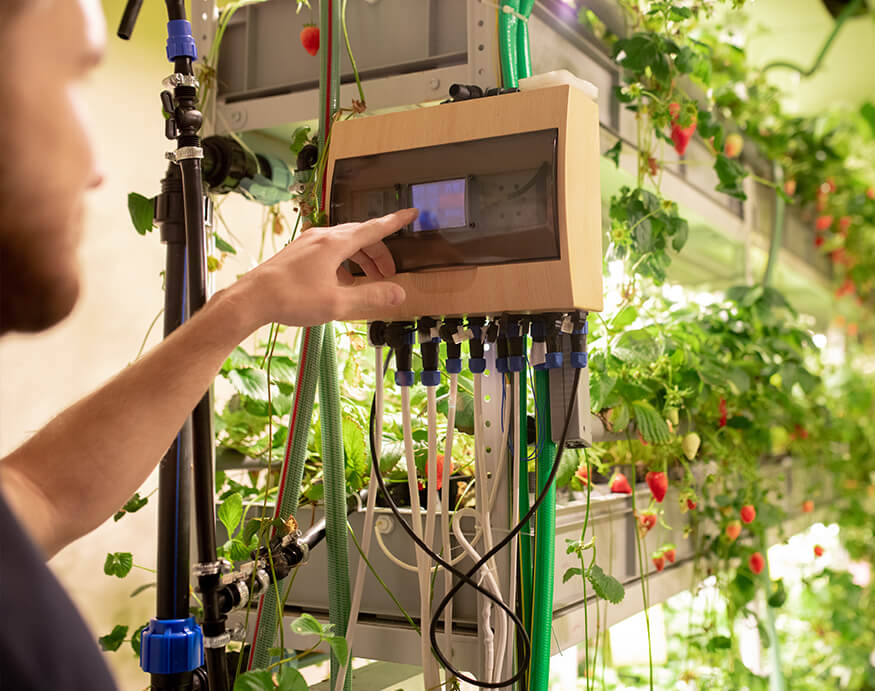
Most greenhouse designs create a higher interior temperature than outside, providing a safe growing environment for vulnerable plants.
However, in very hot climates, you can use a greenhouse to provide shade and cooler temperatures, especially for plants that like cold weather.
Learn More: You know what a greenhouse is, but what about a cold frame?
Increased Plant Diversity
By creating a longer growing season, a greenhouse allows you to raise a variety of plants. You can plant seedlings early and give them enough time to reach maturity before the fall cool-down.
Want to grow watermelon but live in zone 5? Choosing a short-season variety will help but a greenhouse is a great solution.
Weather Protection
Gardeners all know, or at least fear, walking outside one day and staring in dismay at their garden. A windstorm has knocked down all your new seedlings. Or a hailstorm. Or late snow. One storm can mean the destruction of your crop for the year.
A greenhouse protects your plants not only from low temperatures but from other bad weather until your seedlings are sturdy enough to handle it on their own.
Starting seeds in a greenhouse? Here is our complete guide.
Pest Protection
Greenhouses offer a protective barrier against pests and animals. Since your garden is inside a closed environment, you can sleep soundly knowing that your plants and vegetables are safe from deer to gophers to cucumber beetles.
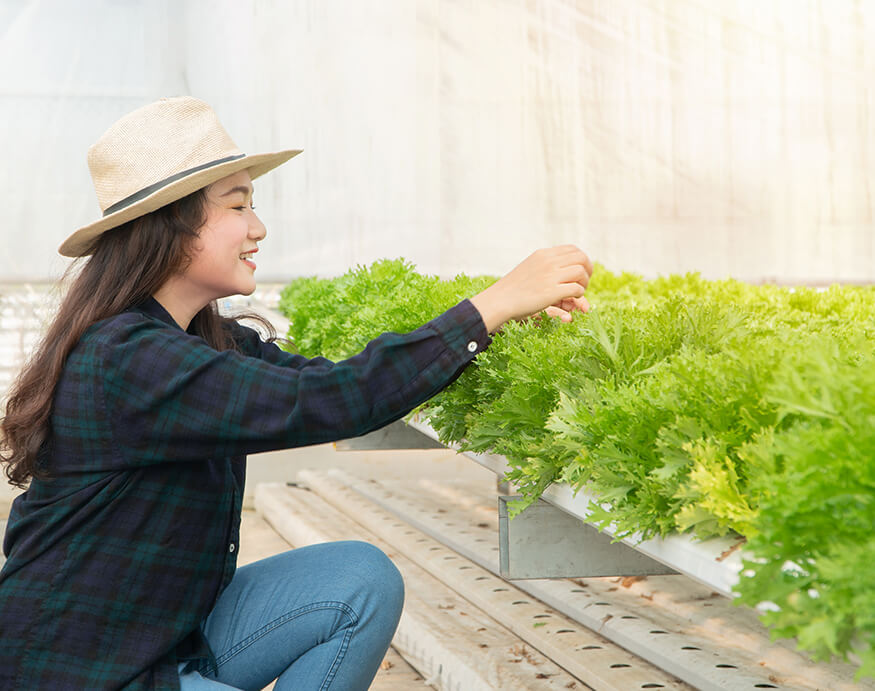
Improve Your Mood
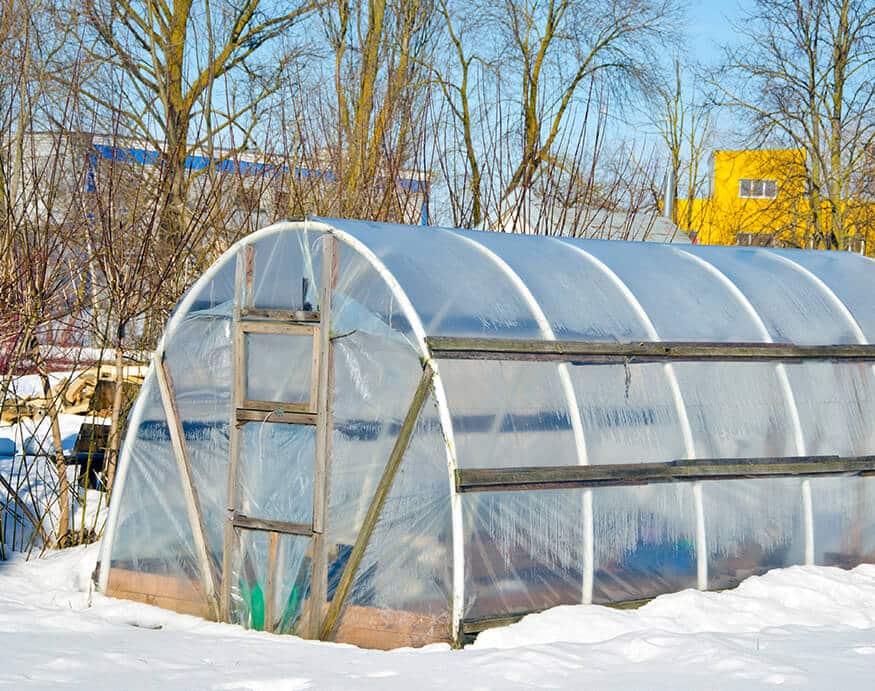
If you miss gardening during the winter, a greenhouse is a great idea. It gives you a warm place to get out of the house and get some dirt under your fingernails year-round.
When it is cold and snowy out, working in the greenhouse is a relaxing retreat that will help keep your spirits up while waiting for spring.
Spending time in your greenhouse can even help combat Seasonal Affective Disorder (SAD). Sunlight in a greenhouse increases your serotonin, and Vitamin D. Sun exposure is scientifically proven to improve your mood and combat SAD. Plus, exposure to plants is therapeutically effective in improving mood.
Disadvantages of a Greenhouse
Cost
Building a greenhouse can be expensive. A rough guide for a budget greenhouse kit is around $750 and a luxury option is nearly $6,000.
Plus, once you have a greenhouse, you may find yourself doing even more gardening. That can increase your costs for plants, soil, fertilizer, etc.
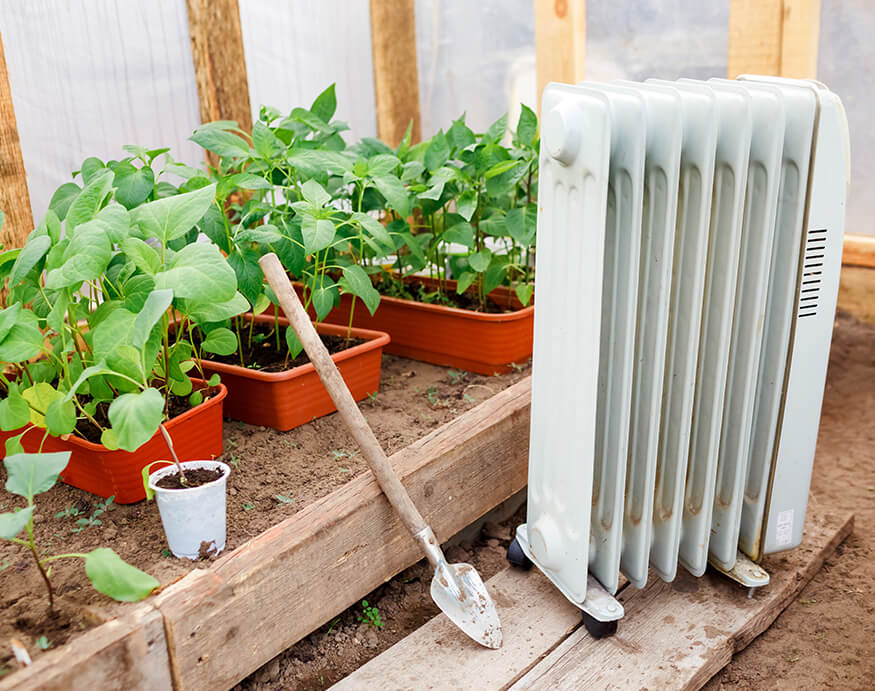
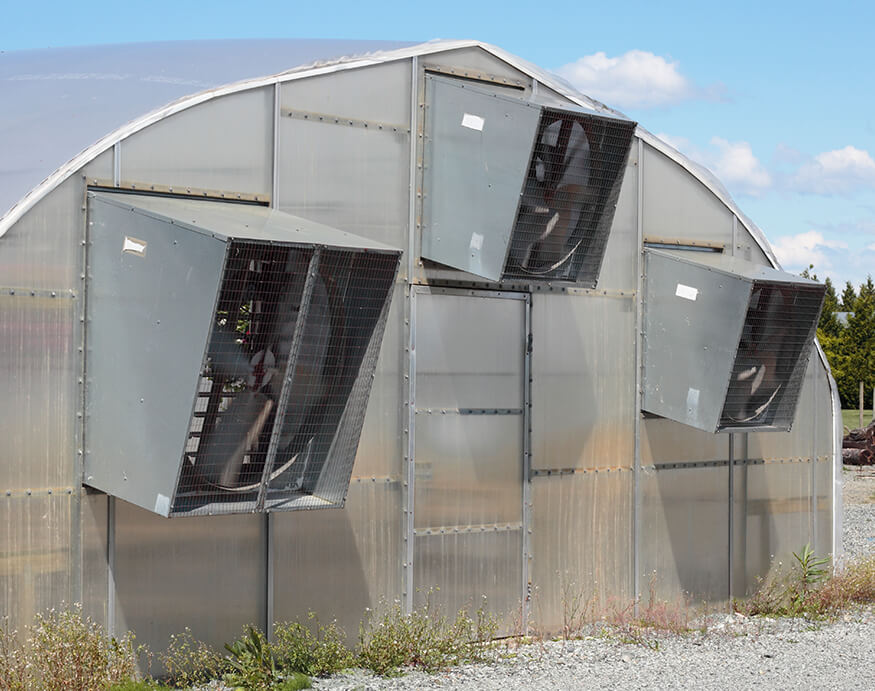
However, once built, greenhouses are inexpensive to operate and maintain. You’ll need to replace glass occasionally. Your operating costs will be higher if you add a fan to circulate air, or a heater to convert it into a hothouse.
If you want to convert your greenhouse into a hothouse, the USDA has created software to help you project your heating costs. It uses your local weather conditions, the type of greenhouse, the cost of energy, etc.
Learn more: Heating your greenhouse in winter
Time Consuming
You will probably spend more time gardening with a greenhouse than you would otherwise, especially in the winter and early spring.
You will need to keep your greenhouse clean and pest-free, which takes time.
Also, greenhouses need frequent attention at certain times of year to protect the plants. As the outside weather gets warmer, the greenhouse may become too hot. You will need extra ventilation and water plants more often if that’s the case.
Pests and Diseases
One of the main benefits of a greenhouse is that it protects the plants from the critters and diseases that attack your outdoor plants. But that protection comes with its own risk.
A warm, contained environment full of tasty plants is a very hospitable place for pests. You must be very careful only to bring healthy, disease- and pest-free plants and soil into your greenhouse.
If you bring in one diseased or pest-ridden plant, that pest will spread quickly and attack the other plants in the greenhouse. Aphids, for example, are a common problem in greenhouses. You will need to be vigilant to keep a clean and healthy greenhouse.
Pollination
Because a greenhouse keeps out most insects, it keeps out most pollinators, such as bees. That means that if you are growing plants that need pollination to set fruit, you may have to do it by hand.
The Bottom Line
Access to a contained, temperature-controlled microclimate is a huge asset. Whether you want to grow tomatoes all winter, start your seedlings earlier, or just have a warm place to be around plants all winter, a greenhouse will bring a smile to the face of any gardening lover.
Read more: The best vegetables to grow in a greenhouse