
Pruning shears are tough and made to last. But, just like with any gardening tool, regularly cleaning them can keep its blades sharp, prevent rust, and make pruning fast and effortless rather than an exhausting and numbing grip workout.
It can also save your plants from deadly cross-contamination because your pruners are free from bacteria, fungi, and other pathogens! And the best part is cleaning pruning shears will only take 15-30 minutes of your day and involves using household items like isopropyl alcohol or Lysol.
So, without further ado, here’s how you can make your trusty pruners sharp, squeaky clean, and most importantly, bacteria-free.

How to Clean Pruning Shears
Cleaning your top-of-the-range pruning shears is more than just wiping them down with a clean cloth. If you want to keep this garden tool in tip-top condition, you’ll have to exert a little effort. Don’t worry. Our cleaning pruning shears method is fool-proof and beginner-friendly.
What You’ll Need
- White vinegar or Dish soap
- Cup/Bowl
- Wire brush, stiff brush or old toothbrush
- Steel wool
- Dry, clean towel
- Diamond file (for optional sharpening)
- WD-40 / Linseed oil
1. Hose/wash Down Your Pruning Shears
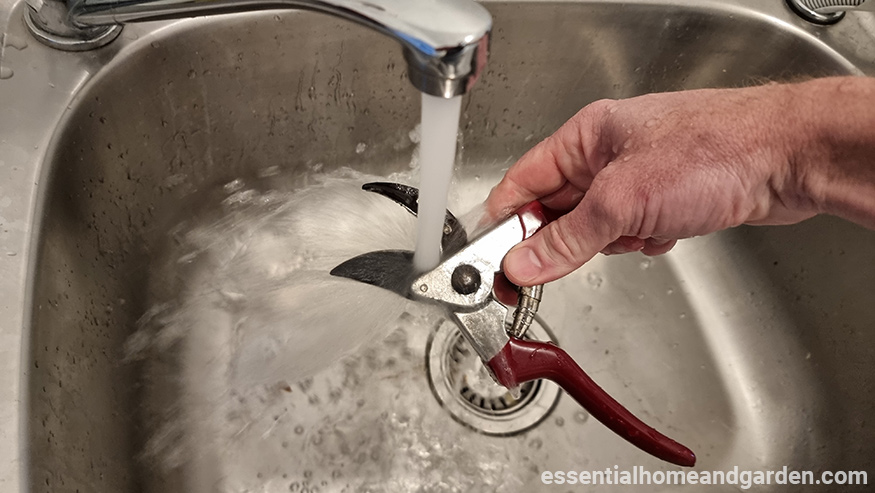
We’re starting our cleaning pruning shears with a good-old-fashioned hose down. This step may seem obvious, but it’s necessary since trap and accumulated dirt and debris will interfere and reduce the efficiency of the disinfection process later.
So, take your pruners outside, grab your garden hose, and spray the shears with water. Alternatively, you can wash your shears under running water and use your hands to loosen and remove the dirt. Be extra cautious when running your fingers across the blade! Wear gloves if needed.
2. Give It A 10-minute Soak
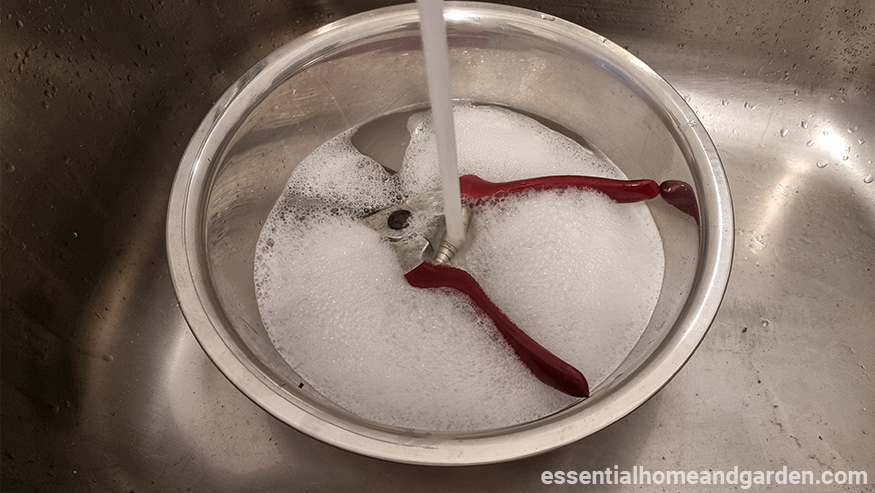
Once you’ve removed visible dirt and debris, it’s time to give your pruners a 10-minute soak. This will soften grime, leftover debris and make the sticky sap more manageable to remove.
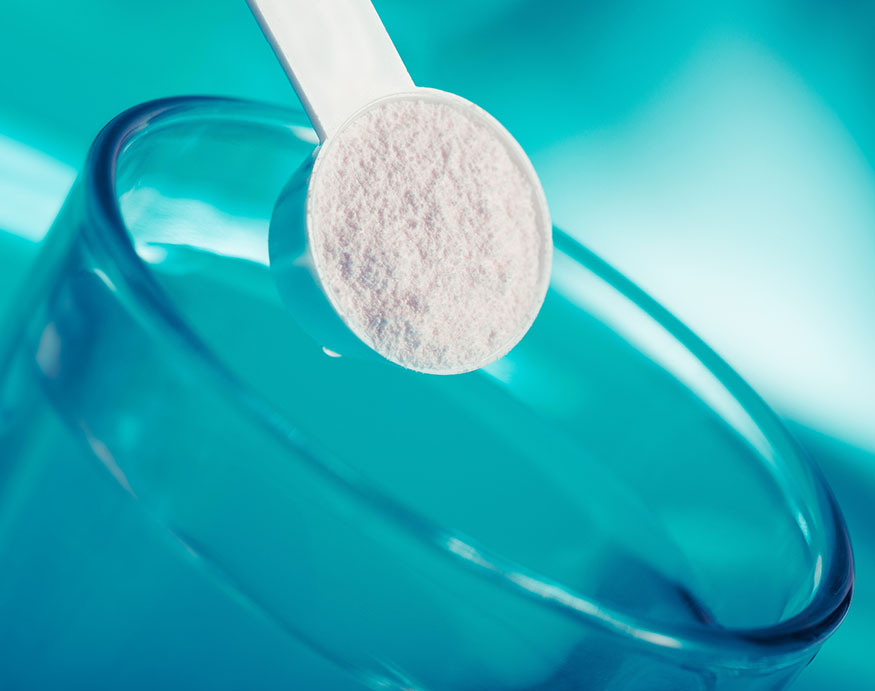
Fill a cup or a bowl with warm water. You shouldn’t use hot boiling water because it will melt the rubber grips of your pruning shears. Then, pour and mix 15ml of dishwashing soap into the bowl of water. Let your pruners sit in the mixture for at least 10 minutes.
Pro Tip: If you notice rust spots on your pruners, you can swap the dish soap with white vinegar. The acidic nature of vinegar will dissolve the rust. You should leave the shears in the solution overnight.
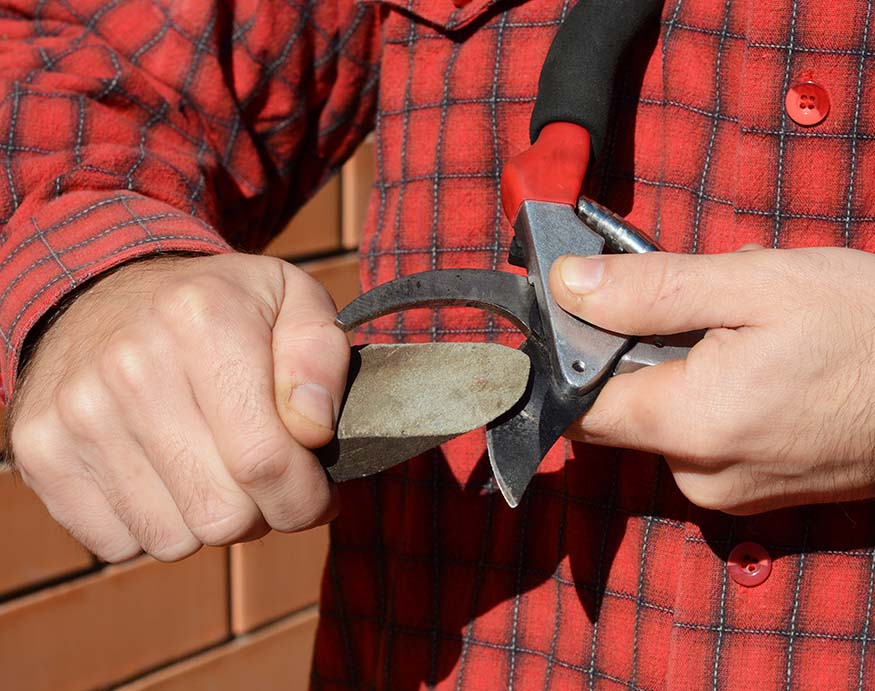
3. Scrub With A Wire Brush
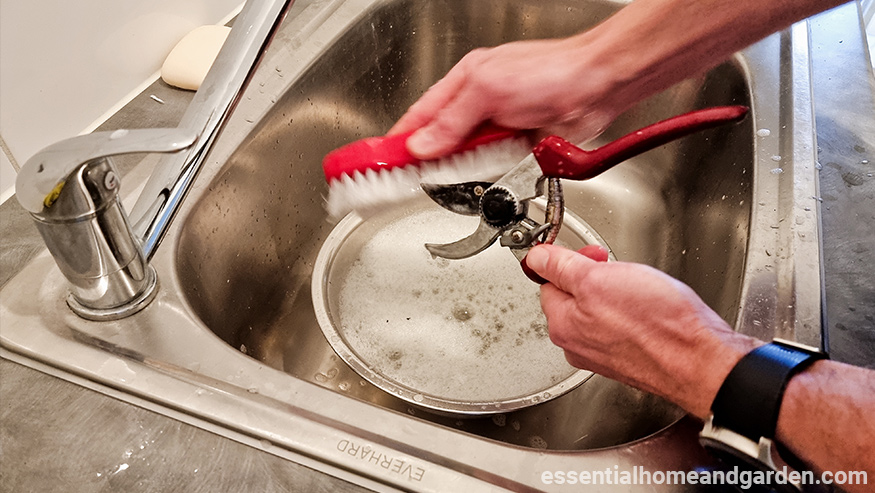
After soaking, take a wire or stiff brush and start scrubbing the surfaces of the shears. If you don’t have a decent stiff/wire brush, you can put your old toothbrush to use, but be prepared to put in more effort, especially when there are stubborn stains and dirt.
Be sure to cover the entire surface of the blades, and don’t forget the edges and corners. If you haven’t cleaned your pruners for a while, you may want to disassemble them and give areas between the blades a good, thorough scrubbing.
4. Rinse and Pat Dry
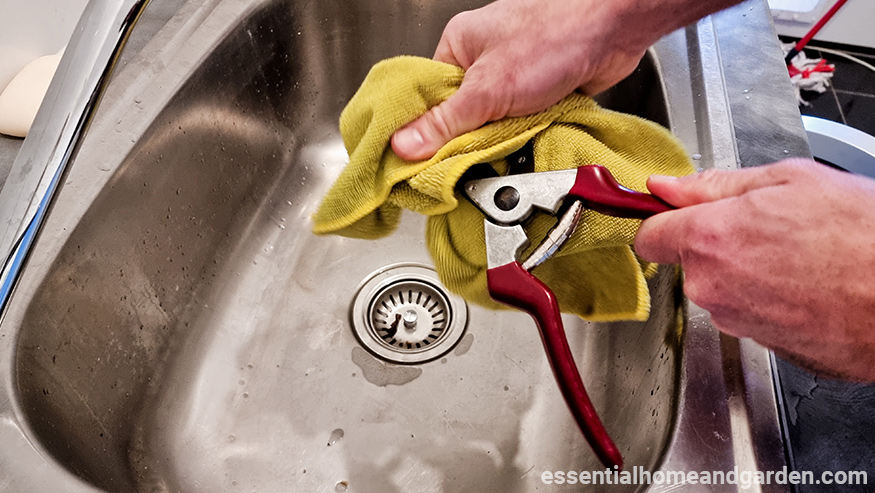
Once the hard part is over, you can now rinse your pruners. Do not use the cleaning solution for rinsing – loose dirt can get trapped again in the nooks and crannies of the shears. Whenever you’re rinsing any garden tool (or any household item for that matter), always use clean water.
If there is still some rust or leftover sticky sap, you can scrub fine-grade steel wool over the blades. Then, take your dry, clean towel and pat dry the pruners. You can also put your pruners out in the patio and let it air dry.
5. Sharpen Your Pruners (Optional)
This fifth step is optional, but it is highly recommended if your pruners are giving you dull cuts — rough cuts increase the chances of infection on plants, by the way!
Unlike kitchen knives and scissors, the cutting blade of pruners is actually beveled – the inside is flat while the outer edge is positioned at an angle. You’ll have to ensure that your diamond file with a medium or fine coarse surface follows that angle. Otherwise, sharpening will have little effect and can even weaken the blade.
Positioning your pruners can also make a huge difference in filling down the beveled edges and the outcome. As much as possible, you should use a bench vise grip to hold and secure the pruners in place. But if that’s not possible, holding the pruners on the one hand and the file on the other could work too. Just make sure that you wear gloves.
Then, open the shears – the blades should be facing away from you. Position the diamond file at the same angle as the beveled edges (usually between 10 degrees and 20 degrees). In one swiping motion, move the file from the inner base of the blade to the curved tip.
Continue filling in one smooth stroke until the edges are shiny and sharp. It may take anywhere from 10-20 strokes, but you can do more if needed.
Burrs, the thin metal folds that appear on the backside of pruners, can pop up after sharpening. It’s not a concern, though. That just means that you’ve properly sharpened the beveled edges. To remove them, position the pruners on its back. Using the same hand diamond file, move it down on the blade’s edges. You should be able to smoothen the burrs in just a few strokes.
6. Finish with Lubricant
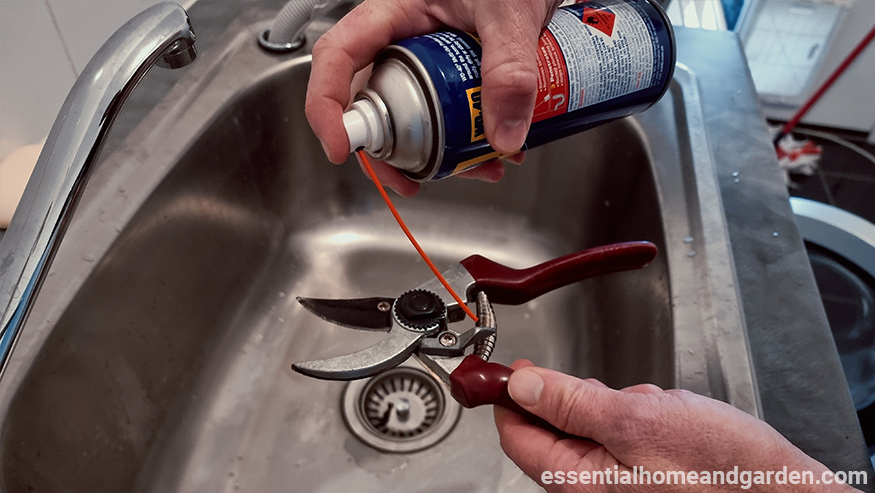
Once you’re happy with the sharpness of your pruners, you can finish it off by applying lubricant to the blades, hinge, and spring. A spritz of good-old WD-40 can do the trick, but if you’re concerned with transferring artificial chemicals to your plants, you can also use linseed oil.
Using linseed oil adds a protective layer on the blades, spring, and hinge to prevent rust and sticky sap from adhering to the surface, all while being natural and safe for your plants.
Dip a clean cloth in linseed oil and glide it over along the blade surface. You should also apply to the pruners’ bolt and where the blades meet the handles.
How to Sterilize Pruning Shears Between Cuts
By now, you think that your pruning shears look perfectly clean and ready to use. But, hold your horses.
You may not see any visible dirt, debris, and rust on your trusty pruners, there is still a good chance that bacteria, fungi, and other pathogens are still clinging to the blades – they are microscopic after all!
So, rather than putting your plants at risk of deadly cross-contamination, it’s always a great idea to sterilize and disinfect – even if your pruners appear clean already.
Here are some ways you can ensure that no bacteria is still lounging around the blades:
What You’ll Need
- Isopropyl alcohol
- Bleach
- Trisodium Phosphates (TSP)
- Lysol
- Pine Oil
- Spray bottle/bowl
Apply Isopropyl Alcohol
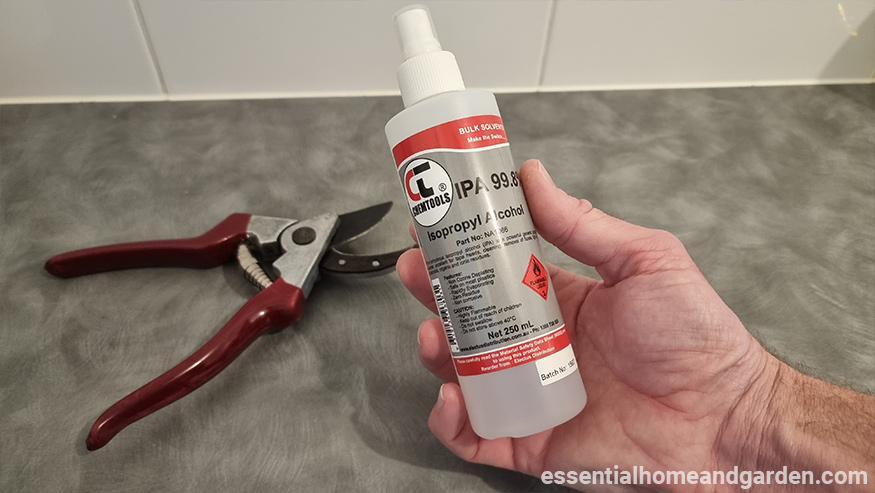
It shouldn’t come as a surprise that isopropyl alcohol is one of the best disinfectants for cleaning pruning shears.
This disinfecting agent breaks down the bacteria or germ’s protein, causing their cells to malfunction. The entire structure will crumble down, dehydrate, and the bacteria will eventually die in seconds.
And the best part is it’s super easy to sanitize your pruning shears with alcohol, and you can use them right from the container. You just take a clean cloth, put some isopropyl alcohol, and simply wipe the blades—no need for a prolonged soak.
For disinfection effectivity, the CDC recommends at least 70% alcohol concentration. Anything less than 70% is ineffective in killing pathogens.
Disinfect with Bleach
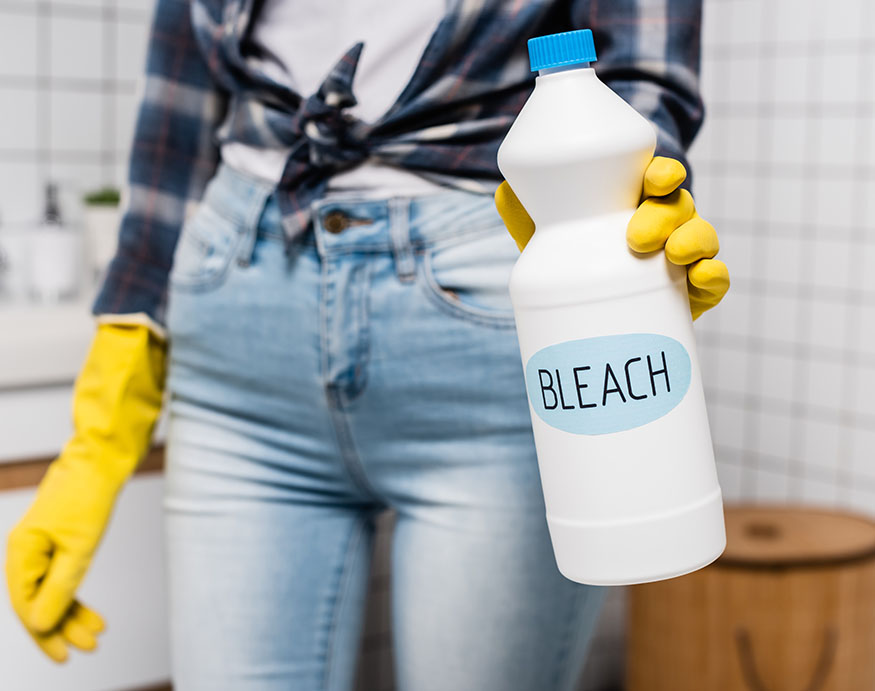
Another inexpensive household item you can use to disinfect your pruners is bleach. But, don’t use it as is like alcohol. Bleach, albeit it can kill germs and bacteria within seconds, is highly corrosive to metal. What you want to do is dilute first.
In a spray bottle or bowl, mix nine parts of water with one part of bleach (any brand will do). Then, let your pruners soak in the solution for at least 30 minutes – don’t submerge the handles! After soaking, give your tool a thorough wash to prevent unwanted corrosion.
Use Trisodium Phosphate (TSP)
Just like bleach, Trisodium Phosphate, or TSP, in short, is a highly potent disinfectant that you should with extra caution.
Often found in granular or powder forms, you will need to combine one part TSP in a bowl with nine parts of water – same as creating a 10% bleach solution. Once granules are dissolved, you should then dip and soak the pruners for at least three minutes.
Safety precaution: When handling undiluted or diluted TSP, it’s always best to wear protective gloves and goggles and avoid skin contact because it can lead to irritation.
Spray Lysol
If you have Lysol lying around in your house, you can also use it to sterilize pruners and other gardening tools. It contains .1% alkyl dimethyl benzyl ammonium saccharinate, effectively eliminating surface bacteria, germs, and other pathogens.
Unlike bleach and TSP, you don’t have to dilute Lysol to sanitize pruning shears. You just simply spritz or spray your blades with it and let it air dry. Another upside of using Lysol to sterilize pruning shears is it doesn’t corrode metal.
Douse with Pine Oil
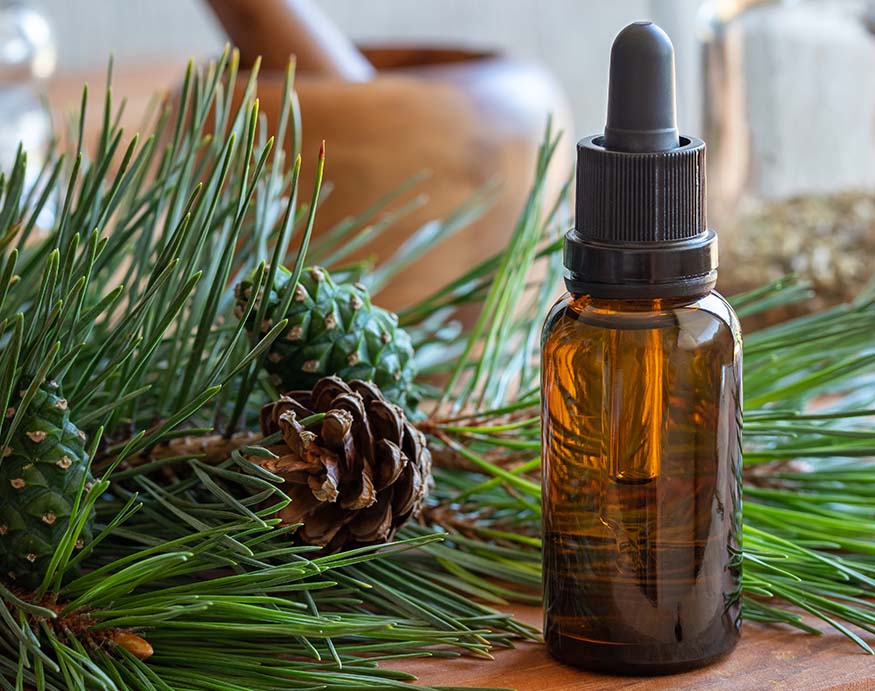
Now, if you want to disinfectant your pruning shears without inhaling toxic and harsh fumes (like in TSP and bleach solutions), grab a bottle of concentrated pine oil cleaner. This all-natural disinfectant leaves a refreshing scent while keeping pathogens (although it is not as effective as alcohol) at bay. And the best part, you can use pine oil around your home!
To use pine oil:
- Fill a spray bottle or bowl with three parts water.
- Add one part of pine oil into the container.
- Mix the solution and soak the blade for at least 30 minutes.
If you’re wondering if you can substitute pine oil with the popular Pine-Sol cleaning products, you shouldn’t. Clorox, the maker of Pine-Sol, changed the formula of Pine-Sol due to limited pine oil supply and to keep costs down – AKA, there’s no pine oil in Pine-Sol.
Also, be on the lookout for pine oil cleaners that use synthetic chemicals.
Clean and Sterilized Pruning Shears
Wiping your shears with a clean cloth or running it through water is not enough. There can be leftover sap, dirt, and grime that could shorten your trusty gardening tool. And not to mention, there can be bacteria and other pathogens that you could pass on to healthy plants.
Good thing cleaning and disinfecting pruning shears is an easy, simple task you can do every month or every week! Or whenever the need arises.
Frequently Asked Questions
are clorox wipes good for cleaning garden shears?
Yes, Clorox wipes are good for cleaning garden shears. You can also use other household disenfectants such as Lysol, Pin-sol, Microban etc.